Installing + Integrating TensorFlow with Visual Studio

Step by step guide for installing TensorFlow on Windows and integrating with VS 2017…
After almost 10 years, I recently re-started playing with computer programming again, and reading about various Machine Learning algorithms – partly to understand the current hype, and partly influenced by a refresher course on AI by Prof. Andrew Ng of Stanford.
However, one of the major hurdles that I faced was to get these OpenSource Deep Learning libraries such as TensorFlow, Theano, MS CNTK, etc., installed and working on my computer + have it fully integrated with an easy to use / free IDE that I am familiar with – Visual Studio.
Therefore, to make it easy for anyone to play around with machine learning, I have put together a simple step by step guide on how to setup one of the more popular libraries, TensorFlow, and have it integrated with Visual Studio 2017
6-Step process for Installing TensorFlow
Note: This assumes ‘Native Install’. I.e., the Native pip install TensorFlow directly on to your system without any virtual environment.
Prerequisites:
- Windows on x86 architecture (Windows 7 or newer to support CUDA) with preferably GPU (see section on NVidia CUDA compatible GPU) support
- Microsoft Visual Studio 2015 or Visual Studio 2017 Preview Edition (see details below)
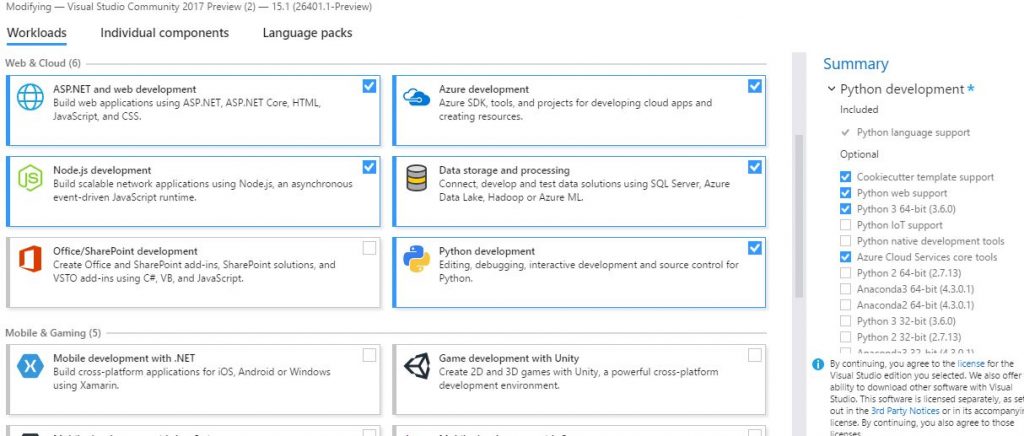
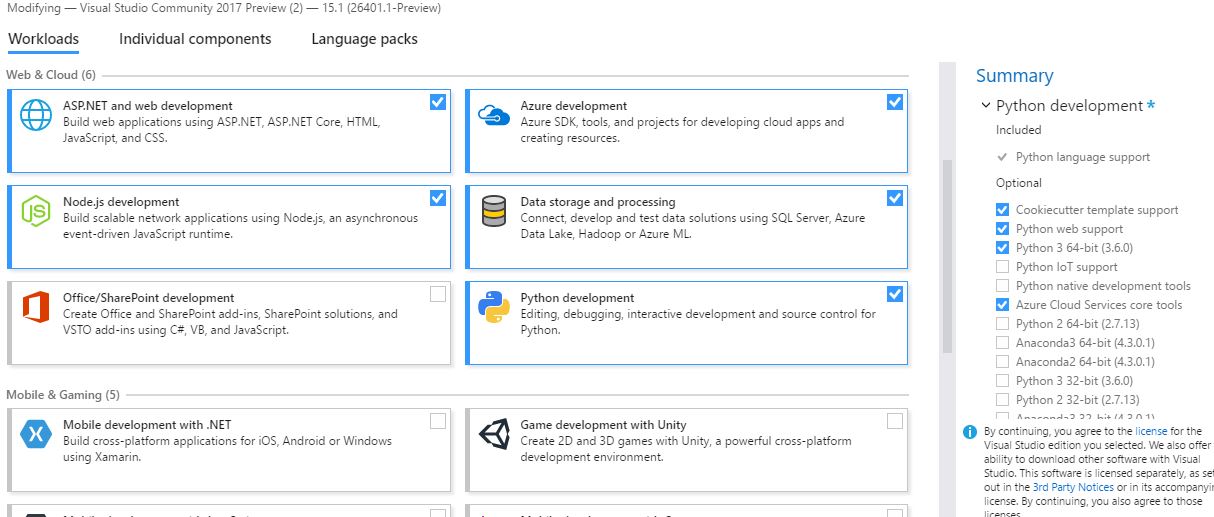
Step 1: Installing Visual Studio Preview Edition
- Download VS2017 from https://www.visualstudio.com/vs/preview/
- In the VS Installer, ensure that Python support is selected only (without any Python binaries)
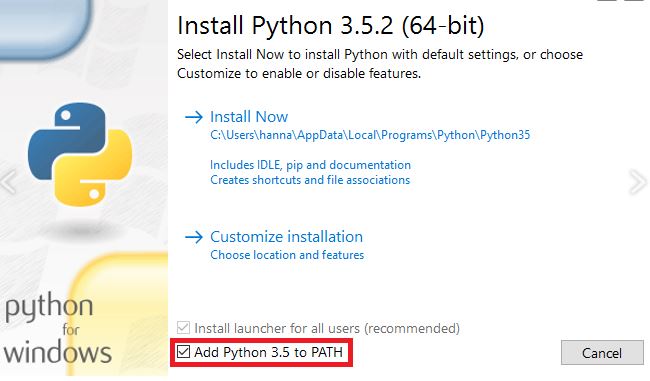
Step 2: Installing 64 bit Python (version 3.5.2)
- Download Python 3.5.2 from https://www.python.org/downloads/release/python-352/
- Only Python 3.5.2 is supported
- Ensure that the correct version for your CPU is downloaded (i.e., for x64 architecture)
- During the install, make sure that you check the box ‘Add Python 3.5 to Path)
Step 3: Deciding on CPU only or GPU accelerated version for the install
You must choose one of the following types of TensorFlow to install:
- TensorFlow with CPU support only. If your system does not have a NVIDIA GPU, you must install this version. Note that this version of TensorFlow is typically much easier to install (typically, in 5 or 10 minutes), so even if you have an NVIDIA GPU, we recommend installing this version first
- TensorFlow with GPU support. TensorFlow programs typically run significantly faster on a GPU than on a CPU. Therefore, if your system has a NVIDIA GPU meeting the prerequisites shown below and you need to run performance-critical applications, you should ultimately install this version.
Note: You can verify whether you have a CUDA compatible GPU by checking the Display Adapters section in the Windows Device Manager. Here you will find the vendor name and model of your graphics card(s). If you have an NVIDIA card that is listed here, that GPU is CUDA-capable. The Release Notes for the CUDA Toolkit also contain a list of supported products
For CPU only install, move to Step 4.
For GPU support:
- Download CUDA 8.0 for your Windows machine
- Download cuDNN for CUDA 8.0 here. (You will have to register and create a free account)
- Install CUDA 8.0
- Extract the cuDNN and copy the three folders ” lib, include, bin “ and paste it in C:Program FilesNVIDIA GPU Computing ToolkitCUDAv8.0
- Now Enter the following command in command prompt
Step 4: Installing Tensor Flow
For CPU Version, open Windows command prompt and enter:
Step 5: Validating your install
- C:> Python
- Enter the following commandsimport tensorflow as tf
hello = tf.constant(‘Hello, TensorFlow!’)
sess = tf.Session()
print(sess.run(hello)) - If the Python program outputs ‘Hello, TensorFlow!’, then the installation was successful
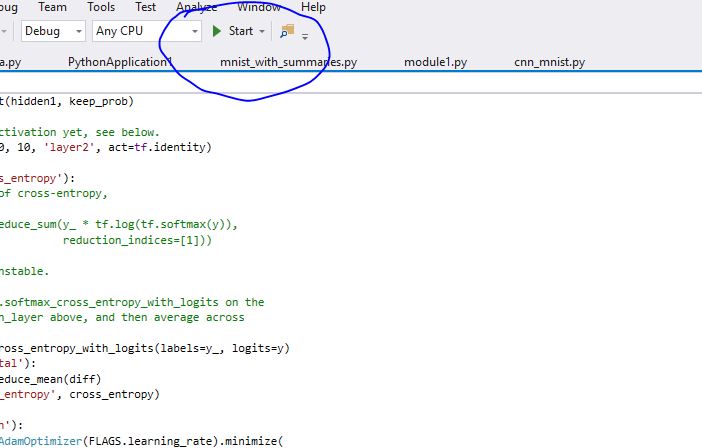
Step 6: Running TensorFlow samples from Visual Studio
- Create a new Visual Studio Project
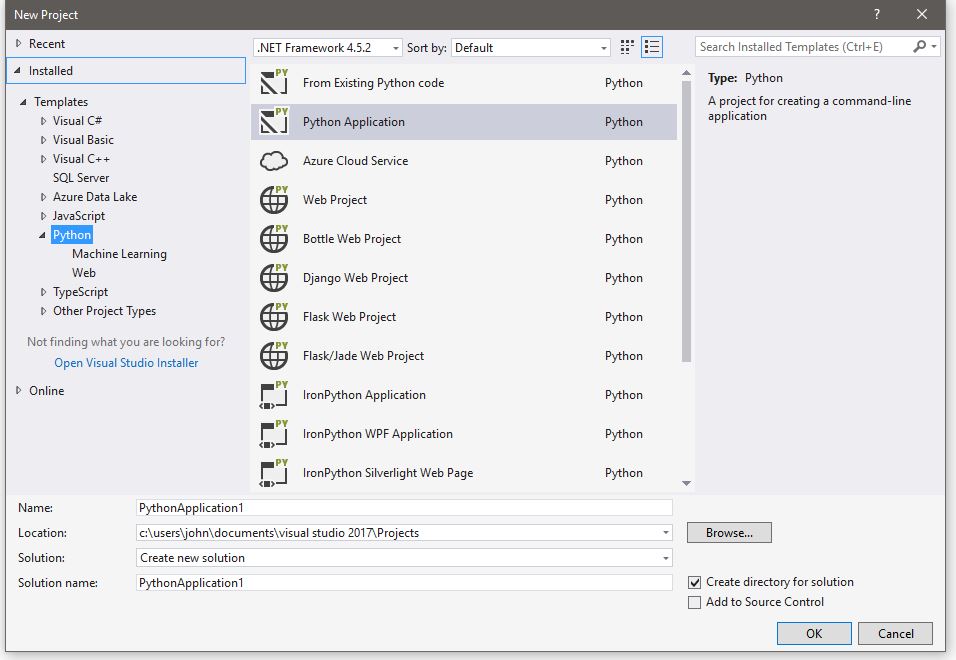
- Select Python Application
- Copy paste the same tutorials from Google’s Github site
- Run the program from within Visual Studio
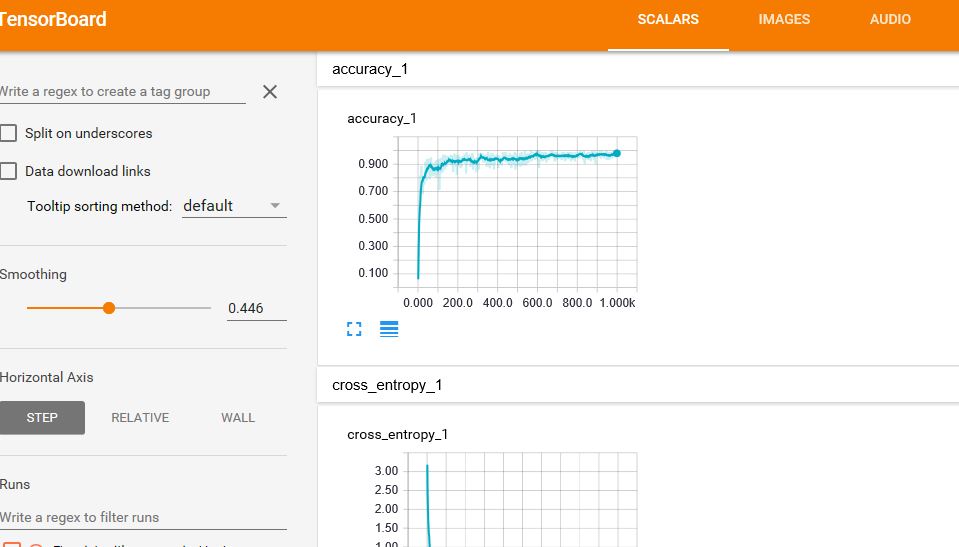
Launching TensorBoard:
The computations in TensorFlow can be complex and confusing. To make it easier to understand, debug, and optimize TensorFlow programs, Google has created a suite of visualization tools called TensorBoard to visualize TensorFlow graph, plot quantitative metrics about the execution of your graph, and show additional data like images that pass through it.
I will not include talk about TensorBoard configuration, here, but details on TensorBoard and how to get it working is described here.
When TensorBoard is fully configured, it looks like this
Enjoy!
John I C Gomes
San Francisco, April 2017